First Day Hikes have been a tradition in N.C. State Parks for nearly a decade.
Unfortunately, there’s been nothing traditional about 2020, and there will be no First Day Hikes as we usher in 2021.
“Parks are not hosting any guided First Day Hikes on January 1,” states a notice on ncparks.gov. “We encourage park visitors to conduct their own First Day Hikes with members of their household. Please note that parks may be busy on New Year’s Day, so please be prepared for parking delays and make backup plans.”
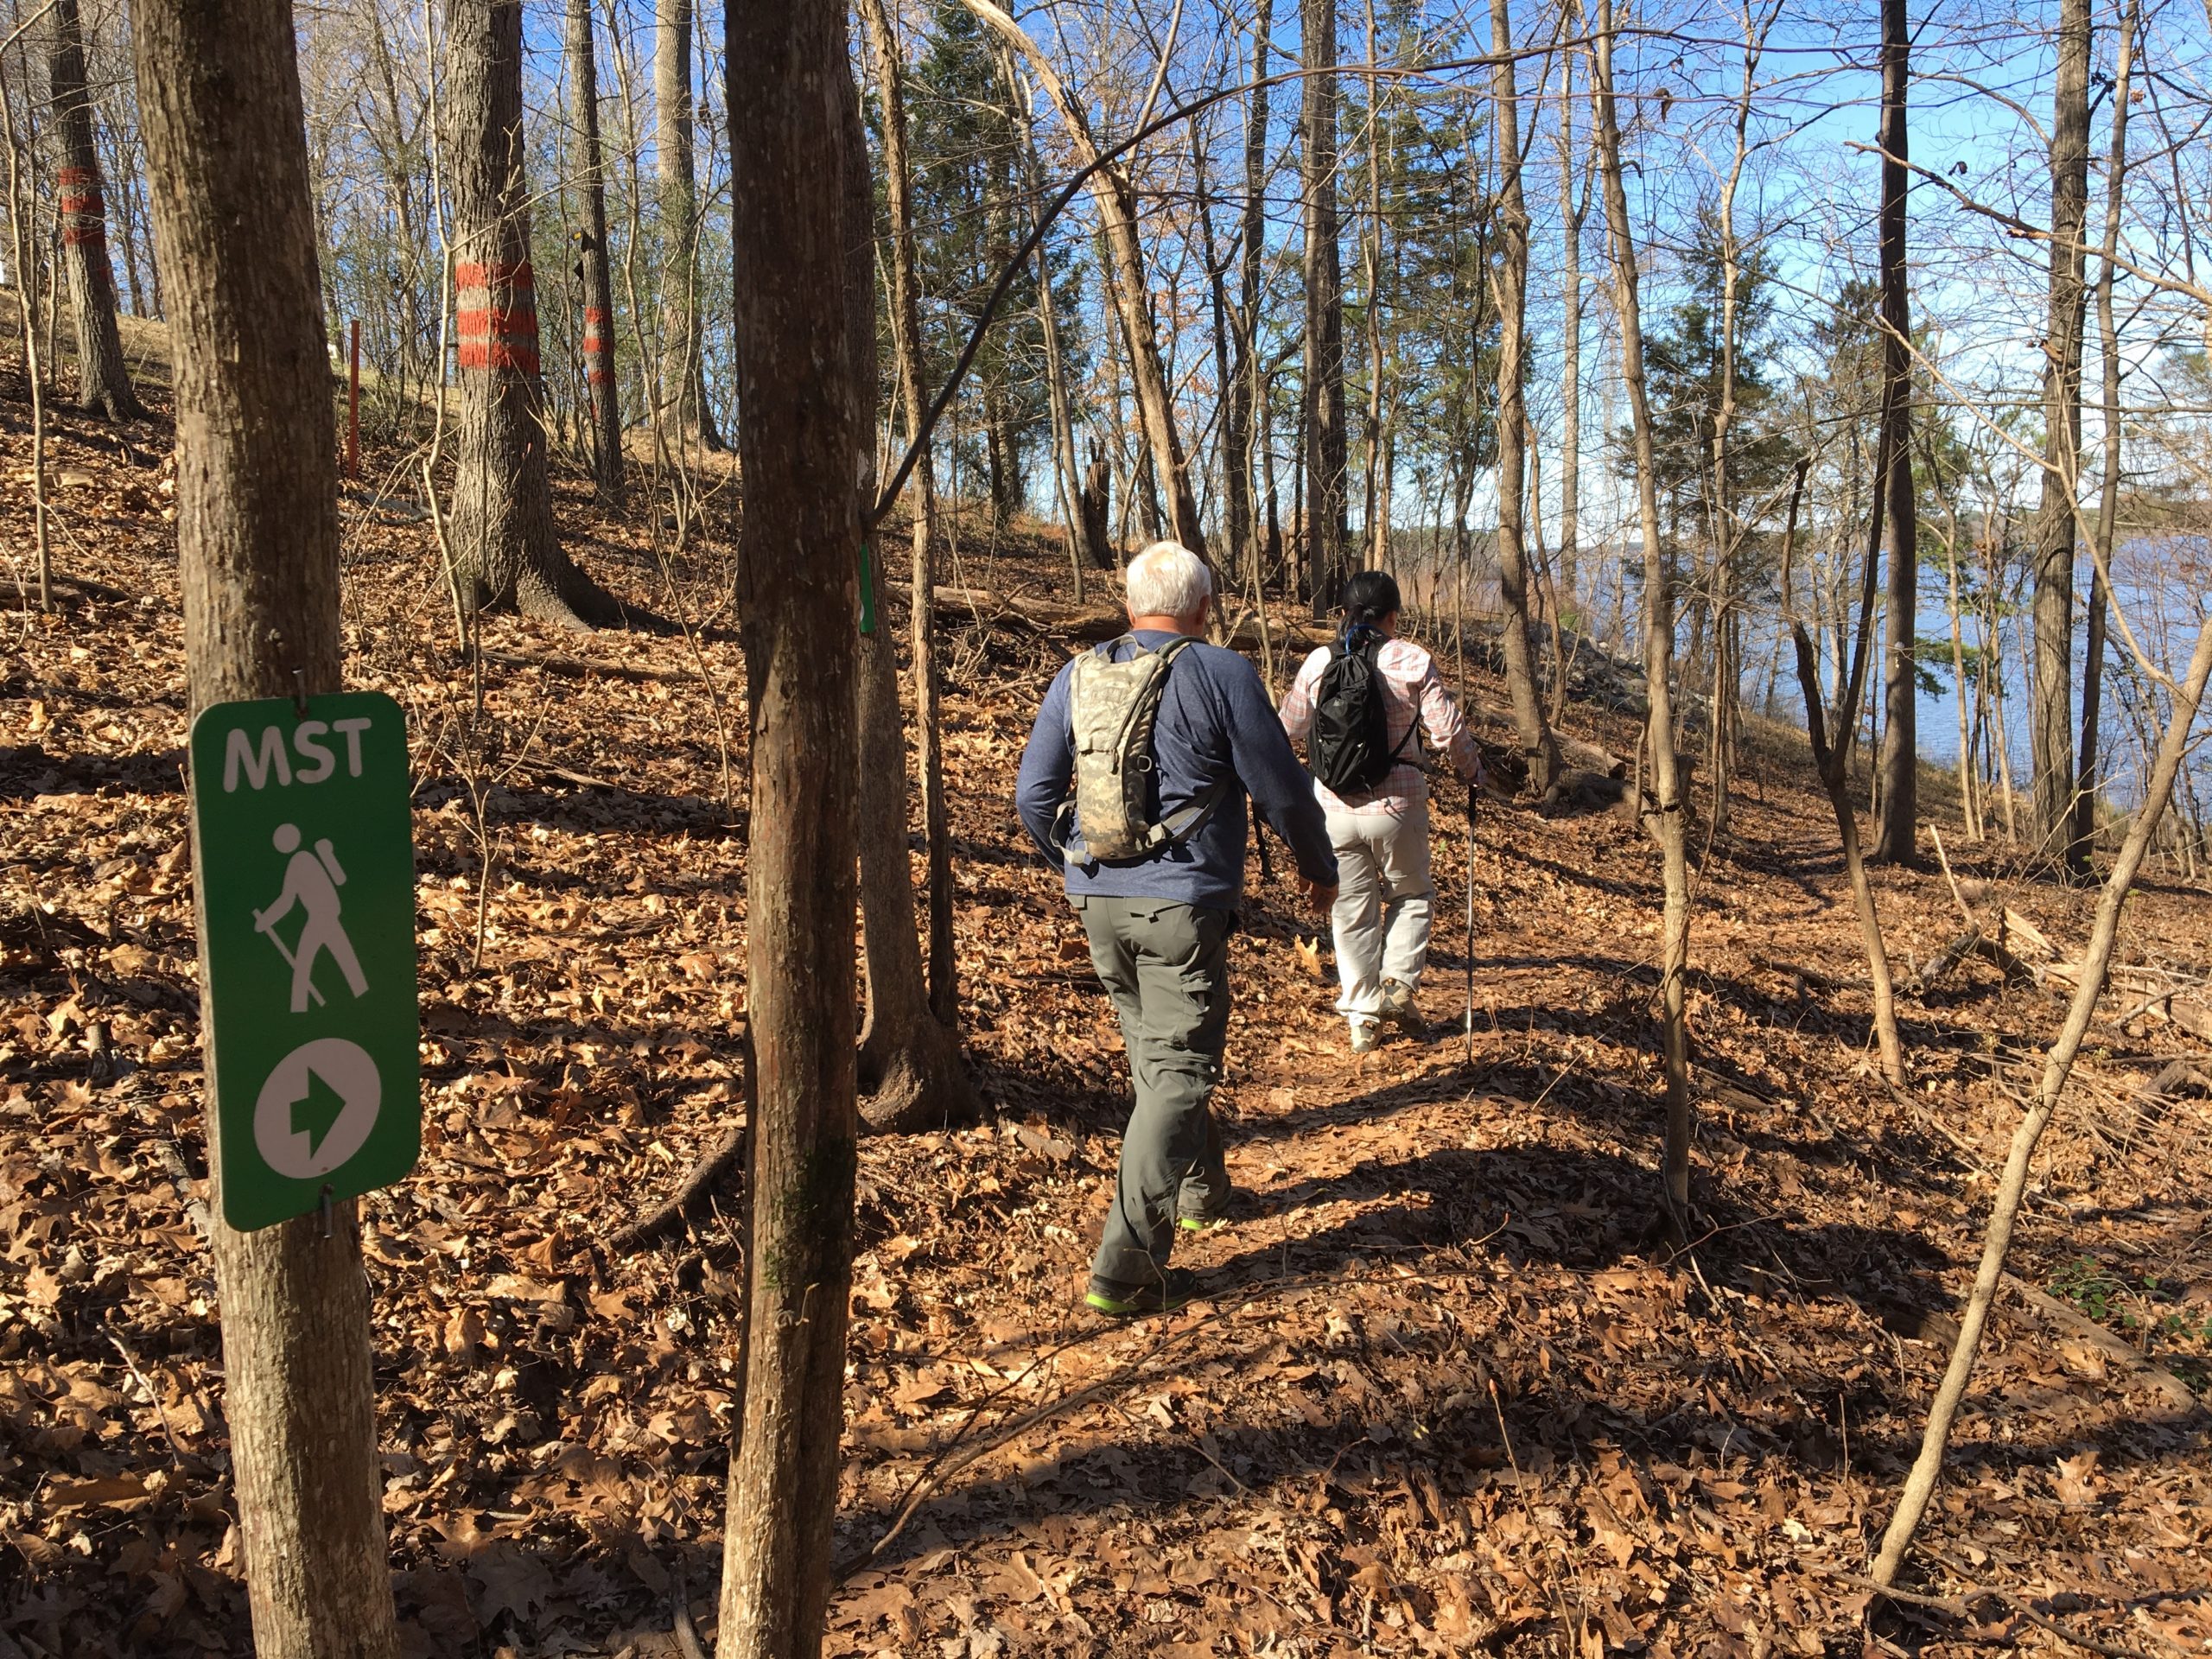
Backup plans indeed. If the parks are likely to be crowded anyway — and possibly be forced to close — why not direct folks to a trail that’s less likely to be crowded. Like the Mountains-to-Sea Trail.
That’s not to suggest that the MST isn’t popular. It’s just that with 1,175 miles of trail, there’s bound to be a stretch or two where you can find solitude. And that thought led us to a conversation with Jim Grode, Trail Resource Manager for the Friends of the Mountains-to-Sea Trail who probably knows the trail better than anyone.
Among other things, Jim is in charge of all of the MST’s resources devoted to helping hikers get from Point A to Point B. That includes the MST’s online resources, its printed guides, and, most recently, “Great Day Hikes on North Carolina’s Mountains-to-Sea Trail,” published earlier this year by UNC Press.
Rather than ask Jim to identify 5 or 10 of what he views as the lesser-hiked stretches of the MST, we thought it better to let him empower you to find, on your own using the MST’s resources, the stretch of MST best-suited to your needs.
Let the planning begin
“The best place to start is with the interactive Google Map on our website,” Jim says. “You can find the section of trail near you and parking locations, and drill down from there.”
 Here’s a quick guide to making that happen:
-
- Start with the Interactive Map on the website. Trails in red are actual hiking trail (which includes paved greenway and unpaved forest roads); black is trail temporarily routed on roads.
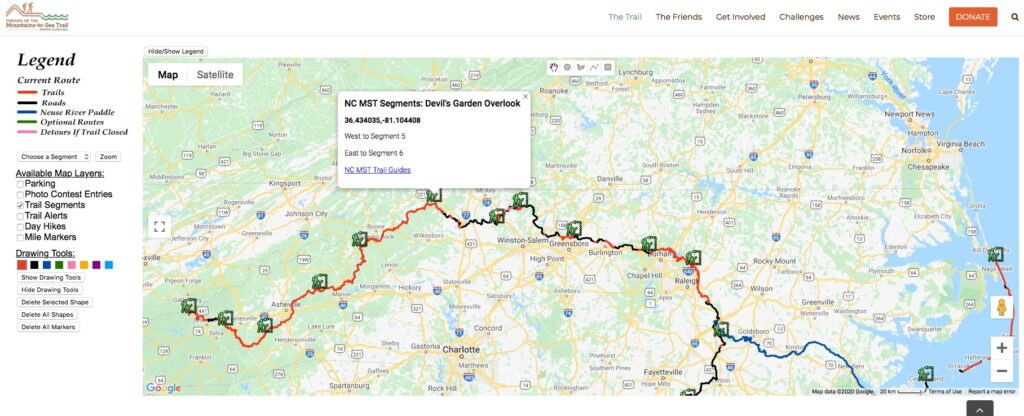
Trail segments - Click on “Trail Segments” in the box on the left to match segments to the correct guides, and click “Parking” to identify places to access the trail
- For distances, click on “Mile Markers” (miles are eastbound only; for westbound, subtract that mileage number from total segment length)
-
Click on the icons and key details pop up Click on individual Trail Segment, Parking or Mile Marker icons to get details helpful for when you …
- … transition to Hiking Guide segments (online PDFs or printed volumes)
- Once inside the Hiking Guide:
- Match a parking area with the trail descriptions, keeping in mind that there are separate marked descriptions for eastbound and westbound
- For a sense of what a stretch is like aesthetically:
- Check the overview descriptions at the beginning of each segment
- On the Interactive Google Map, switch to satellite view for a look from above that can reveal forest, rocky areas, water and more
- To figure out the distance and difficulty of a stretch
- Distances: on the Google Map, use the Mile Marker function; in the guides check the mileage breakdowns in the Hiking Directions.
- Difficulty: The guides for the Mountains and Piedmont both include elevation profiles for each segment (note: the scales for different segments are not the same: be sure to check the distance/elevation for each segment for a more accurate reading; also note that the Coastal Plain & Outer Banks guide does not include elevation profiles because the terrain is flat and the elevation changes aren’t significant). The elevation profiles are more helpful for getting a general idea of elevation differences. To help put elevation in context, a loose rule of thumb is that 1000 feet of climbing = 1 level mile.
- When checking out the Parking/Trailhead, keep in mind that extra amenities — restrooms, visitor centers — which will be indicated, are likely to draw more hikers.
- Have a Plan B and C in case you show up at Plan A and it’s crowded. This is relatively easy along much of the trail since access points often aren’t more than 3 to 5 miles apart.
- Start with the Interactive Map on the website. Trails in red are actual hiking trail (which includes paved greenway and unpaved forest roads); black is trail temporarily routed on roads.
It’s an easy, step-by-step process for not only finding your ideal First Day hike, but for finding great hikes on the MST for years to come.
The GetHiking! Southeast Podcast
 You can find more of our discussion with Jim Grode, including more helpful tips on planning your own hike, on our GetHiking! Southeast podcast, which debuts today. Give a listen here.